
We love pickled beans. We use them in wraps or on top of tacos. Another reason that we love to pickle beans is because a lot of beans are needed to fill the jar, so it’s an easy way to use them up.
Beans are super easy to grow, and they are the perfect plant for succession planting. Any time there is space in the garden, they are the perfect plant to include. And because of that, we are always overrun with them.
This recipe is great because it is super easy to make, and is super quick. Read below for everything you need to make these amazing pickled beans!
What exactly is quick pickling?
Quick pickling is the same as refrigerator pickling. It is a method of pickling food that does not require water bathing or pressure canning. Fresh vegetables are placed in the jar and hot brine is poured over them. In this method, the jars do not need to seal, and they must be stored in the fridge as they are not shelf stable.
Why do we love this method so much?
• It’s quick
• It requires no fancy equipment
• No jars need to be boiled in water
• It’s super simple to do
How long does quick pickled food last?
Traditional water bath canning or pressured canning can last on the shelf for years. But because this process doesn’t require the seal to be formed, this type of pickling doesn’t last as long. Additionally, the pickled beans must be refrigerated at all times. From what we have seen online, many websites suggest that quick pickles will last only a few months. In our experience, we have safely had quick pickled food last in the fridge until the following pickling season. We have only had one instance where a jar fizzed upon opening that we had to throw out. However, we always do a smell test of the jars as they age to ensure they still smell fresh.
Why pickle?
The fun thing about learning to pickle is you can play with the ingredients and flavours. Pickling is a great way to use excess vegetables when the plant is overproducing and you can’t keep up. Also, pickling food allows you to eat your garden beans all the way into the following year!
Type of beans to use
The type of beans that you will want to grow are bush or pole bean varieties. This includes wax, string and green beans. Although they are called ‘green beans’, the beans come in many different colours, not just green! You can grow green, yellow or purple beans. Beans to avoid would be storage beans such as kidney or navy beans, as well as edamame/soybeans.

In addition to growing your own beans, you can also grow your own garlic and hot peppers for this recipe, if you wish!
Get gardening advice directly to your inbox
Let’s get into it!
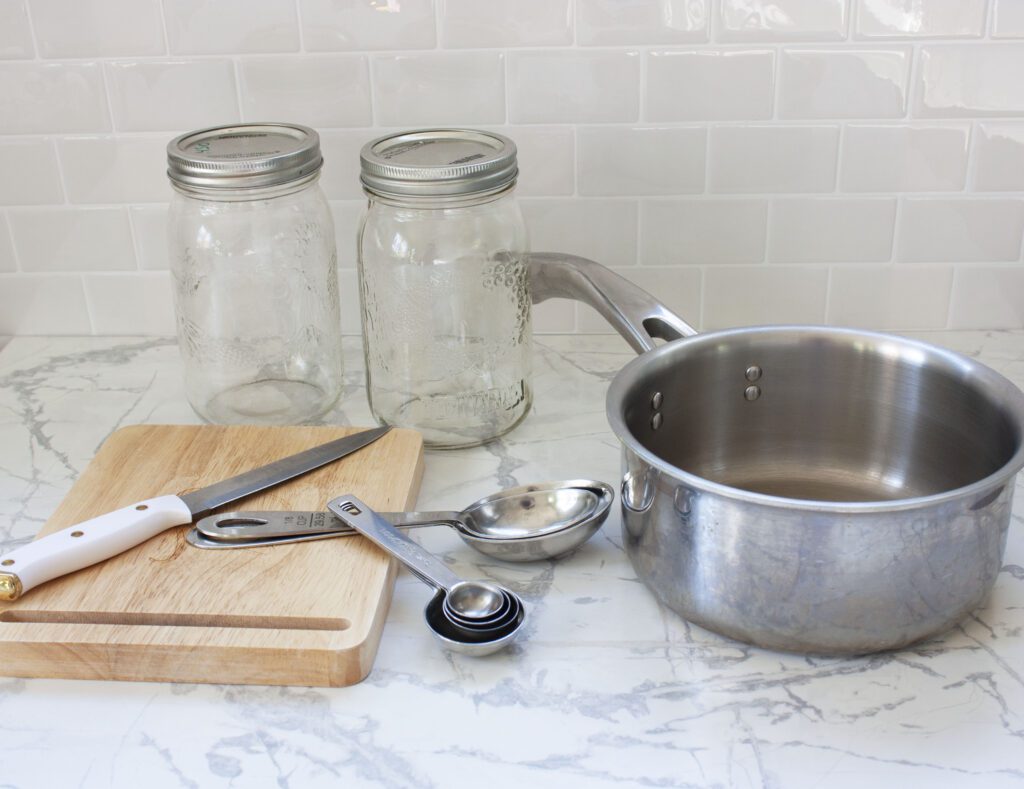
Here is the equipment needed to make your own quick pickled beans:
- Mason jars (wide mouth are the easiest to work with)
- You can use any size jar you wish, however the taller ones are better to avoid having to cut the beans to fit. We usually use either the 1L Wide Mouth jars, or the 750ml jars when we have less beans
- Knife
- Measuring cups & spoons
- A pot to boil water
- Labels and a marker
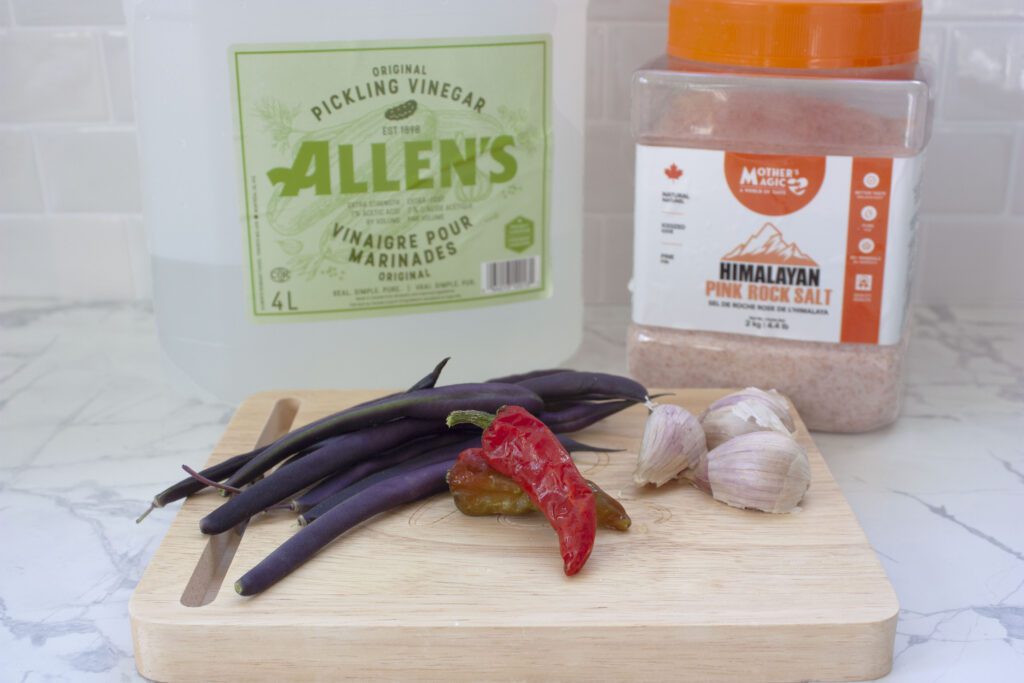
Here are the ingredients required to make these pickles:
• Beans
• Garlic cloves
• Fresh hot pepper
• Coarse salt
• White vinegar
• Water
One thing to note is that you can play around with the ingredients in this recipe. We personally don’t find the beans to be too spicy, however if you are sensitive to spice you may want to omit the hot peppers. You can also add different ingredients such as mustard seeds or fresh dill. The flavours are really up to your personal preferences and creativity!
How to Make Quick Pickled Beans: Step-by-Step
1. Clean the Jars
Make sure that the jars are freshly cleaned before using them. This recipe will use two 1L jars. Wash the jars in the dishwasher or you can wash them by hand in hot water.
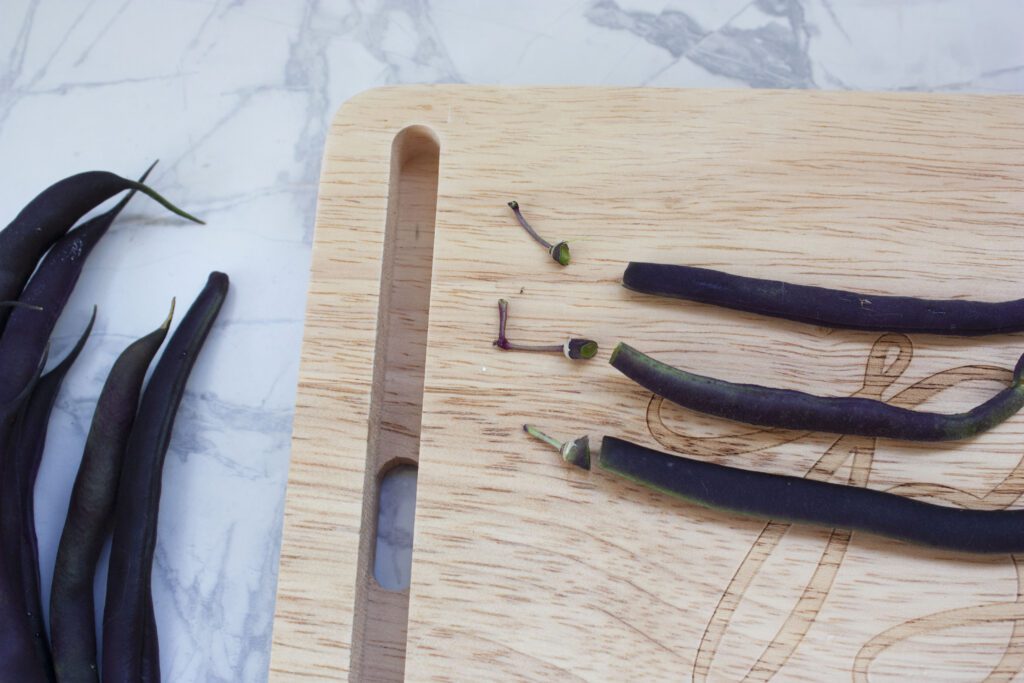
2. Clean and Prep Beans, Hot Pepper and Garlic
For the Beans
Clean the beans thoroughly and cut off the growing tip/stem if it is attached. If you are buying the beans from a farm stand or grocery store, and have the ability to, buying organic or spray free is best.
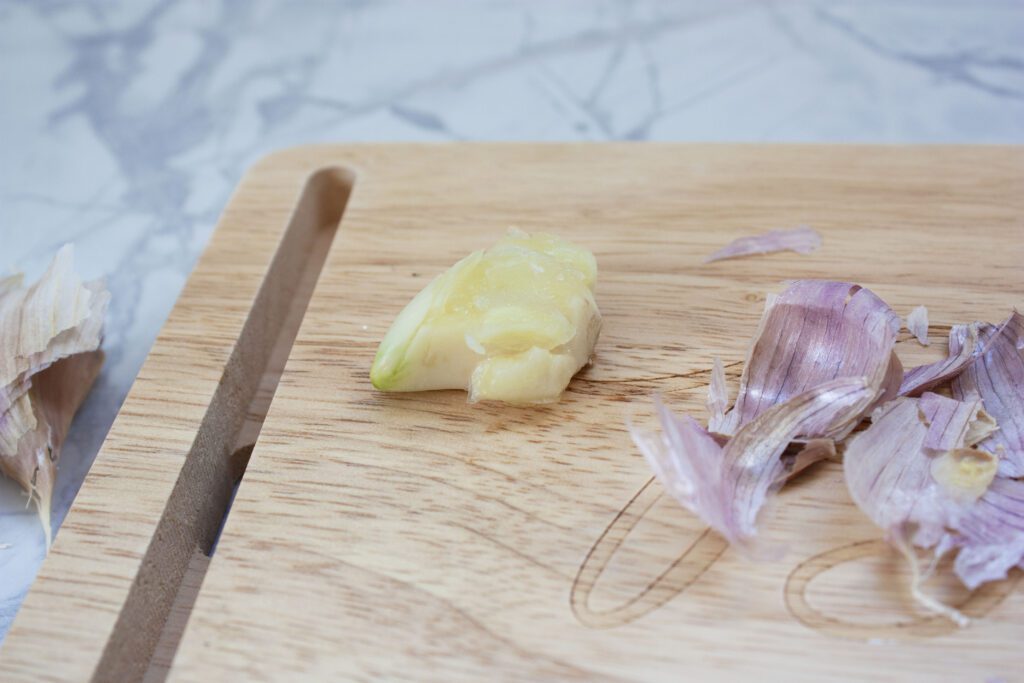
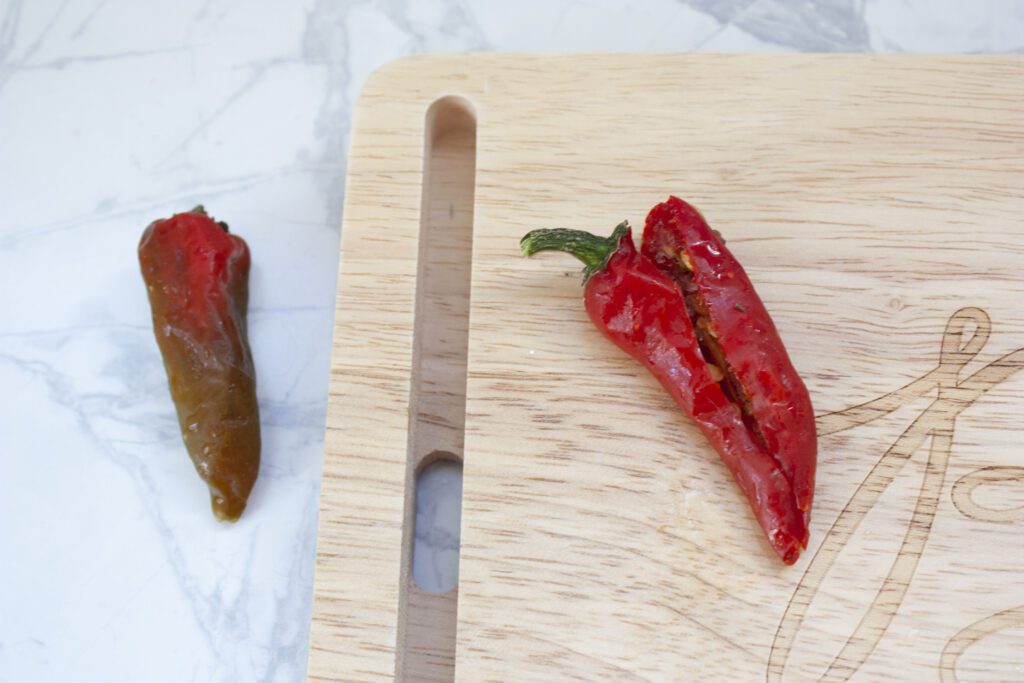
For the Garlic & Hot Pepper
Peel and crush one clove of garlic for each jar. Clean the hot pepper and slice it in half.
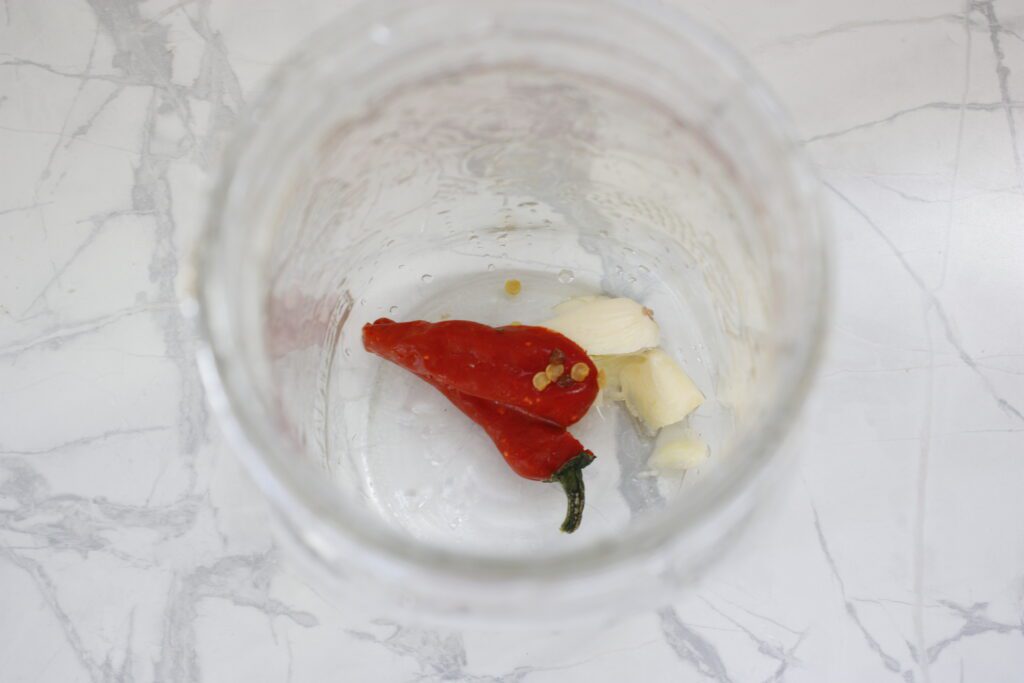
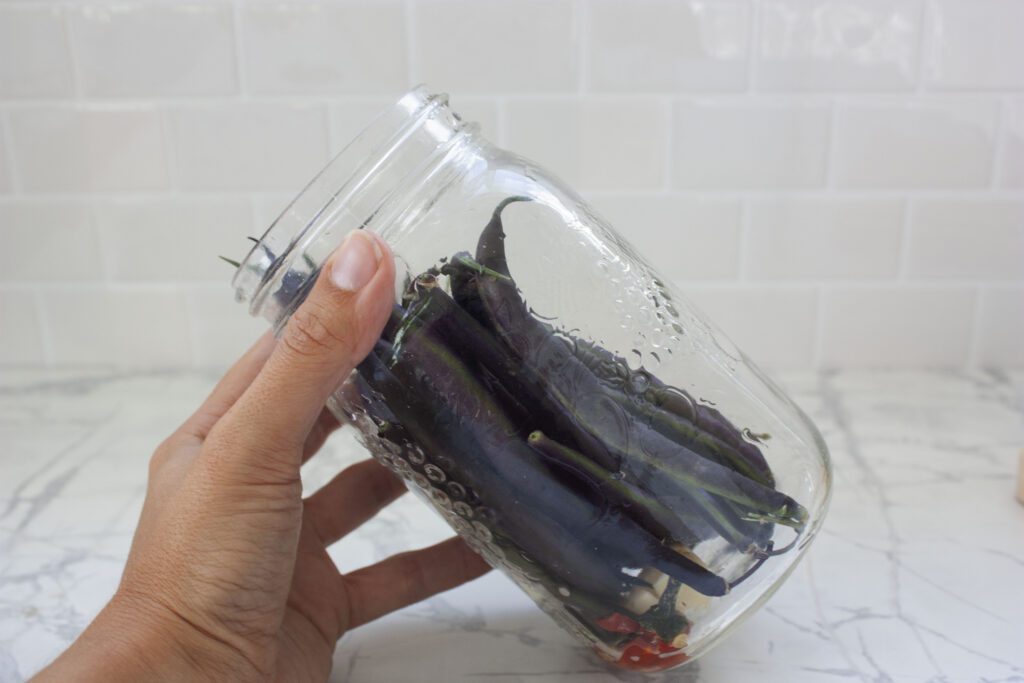
3. Filling the Jars
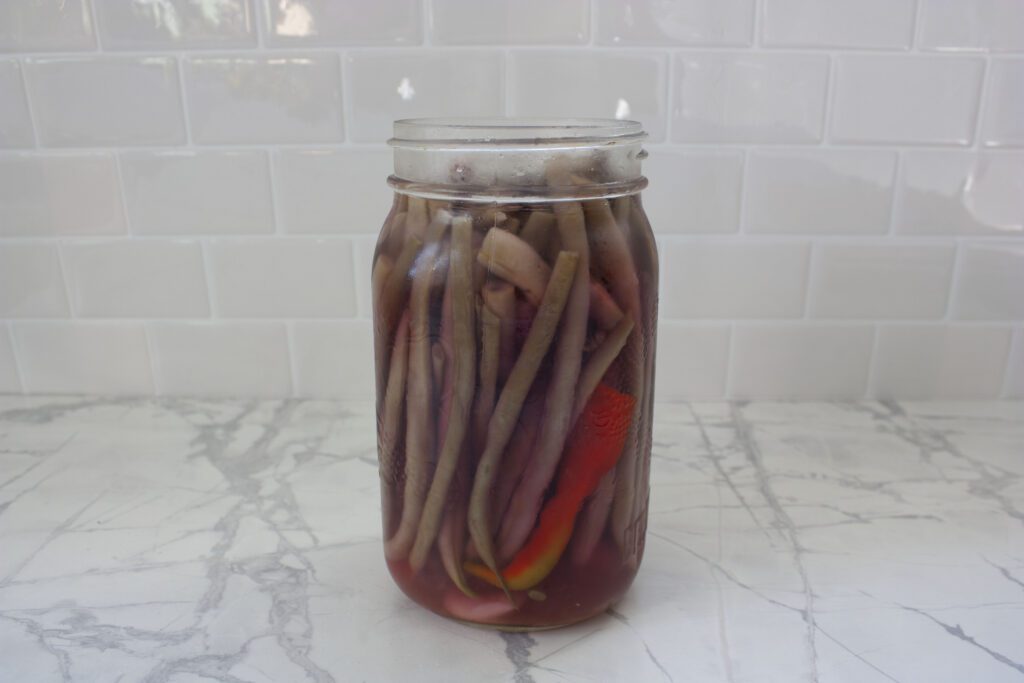
In each of the mason jars, place one clove of garlic and the sliced hot pepper. You can adjust the amounts, to taste, or add in any other ingredients here that you may want (such as dill or mustard seeds). Tightly pack the beans until just below the neck of the jar. Tilting the jar on its side is the easiest way to fit them in the jar. You will want to pack them in as tight as possible, because once the brine is added the beans will float and you want to avoid them floating as much as possible. Do not fill the jars above the bottom of the neck as you will need air in the jar when the hot brine is added.
4. Making the Brine
Add the water, vinegar and salt to a pot and bring to a boil. Boil for 5 minutes until salt is dissolved, stirring every so often. The water may take longer to boil with the salt in it and may not come to a heavy boil. If the water is hot and the salt has dissolved, this is sufficient. Using filtered water is preferred, but if you do not have access to filtered water, tap will do.

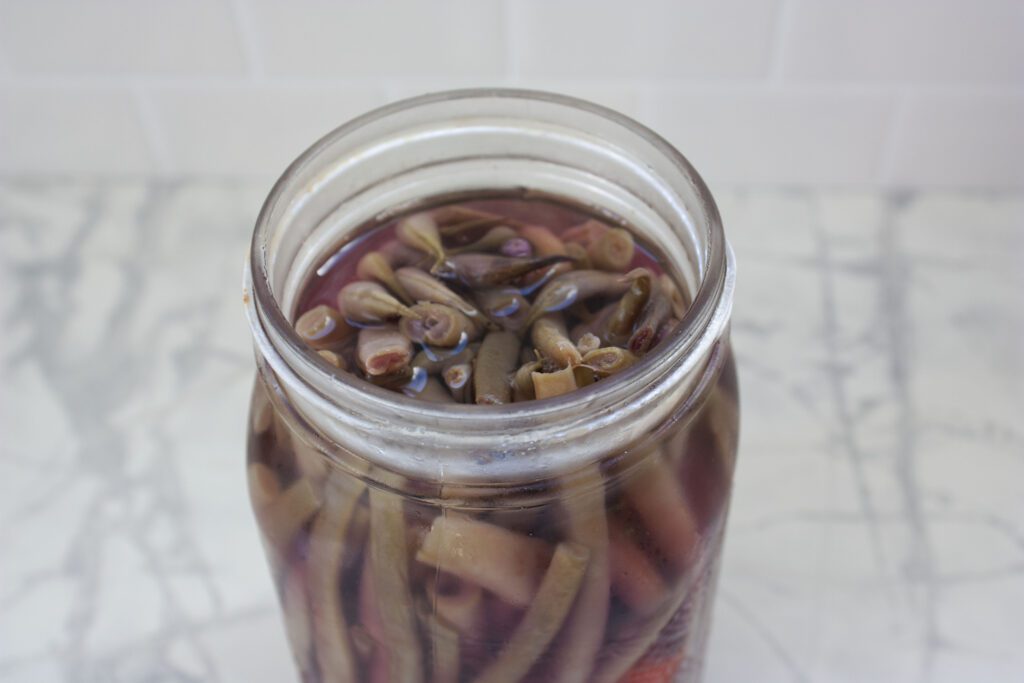
5. Completing the Pickled Beans
Once the salt has dissolved, take the pot off the stove and pour the hot brine in to the jars to the base of the neck. To avoid accidental burning or spilling, place the jars in the sink before pour the brine in the jars. Fill the jars just above the beans and push them down as best as possible to ensure they are all submerged. Do not overfill the jars, you just want to cover the beans and leave space at the top of the jars for air. Screw the lids on the jars and gently tap the side of the jar on the counter or a table to encourage bubbles to the surface. Label the jars with the date and leave on the counter to cool to room temperature
6. Finishing Steps
Once the jars have cooled to room temperature (which takes several hours), place the jars in the fridge. For best flavour results, wait 4 weeks. The beans will start to taste mildly pickled after about 2 weeks if you are eager to dig in to them.
Subscribe to our newsletter to stay up to date
FAQ
- What happens if I run out of brine before all the jars are filled?
- Add some more filtered water to the jars until the beans are covered.
- What if my beans float and are not completely submerged?
- If the beans aren’t completely submerged, it isn’t the end of the world. That part of the bean just won’t pickle, so when you open the jar there may be parts of the bean that are more pickled than the part that was not submerged.
- Do I need fresh hot peppers or can I use chilli flakes?
- If you don’t have a hot pepper or prefer to use chilli flakes, than it will work as well.
- The water hasn’t boiled but the salt is dissolved, can I use that brine?
- Yes, if the water is hot and the salt has dissolved, then you can use the brine
- Do the jars need to seal? What happens if they don’t?
- For quick pickling, the jars do not need to seal. However, due to the heat of the water, sometimes the jars do seal. It is not an issue if the jars do or do not seal.
You Might Also Like:
- How to Make Pickles – Refrigerator Method
- How to Make Apple Fruit Roll Ups – with Added Protein!
- How to Make Nasturtium Chips
Quick Pickled Bean Recipe
Makes approx. 2 – 1L jars of pickles
Ingredients
700g of beans (spray free if possible), cleaned and trimmed
2 cloves of garlic, peeled and crushed
2 fresh hot peppers, sliced in half
2 1/2 cups of water
2 1/2 cup of vinegar
¼ cup of coarse salt
Directions
- Clean the jars in the dishwasher or by hand in hot water
- Clean the beans and cut off the stem tip
- Place one clove of garlic and one hot pepper in each jar
- Tightly pack the beans in the jar until just below the neck of the jar (Fitting them in as tightly as possible to avoid the beans floating once the brine is added)
- Add the water, vinegar and salt to a pot and bring to a boil
- Boil for 5 minutes until salt is dissolved
- Take off the stove and pour the hot brine in to the jars, covering the beans
- Put the lid on the jars and gently tap the side of the jar on the counter or a table to encourage bubbles to the surface
- Label the jars with the date and leave on the counter to cool to room temperature
- Once cooled, place in fridge for 4 weeks, for best flavour results


