Apple season is upon us!
There are so many amazing ways to use apples, from apple pie to making apple juice. But a great way to use the apples and have them last multiple months is to make your own apple fruit roll ups!
These roll ups are great for school lunches, hiking snacks or even airplane snacks. This recipe uses no processed sugar, is only 4 ingredients, and has added protein to keep you full for longer.

Let’s get into it!
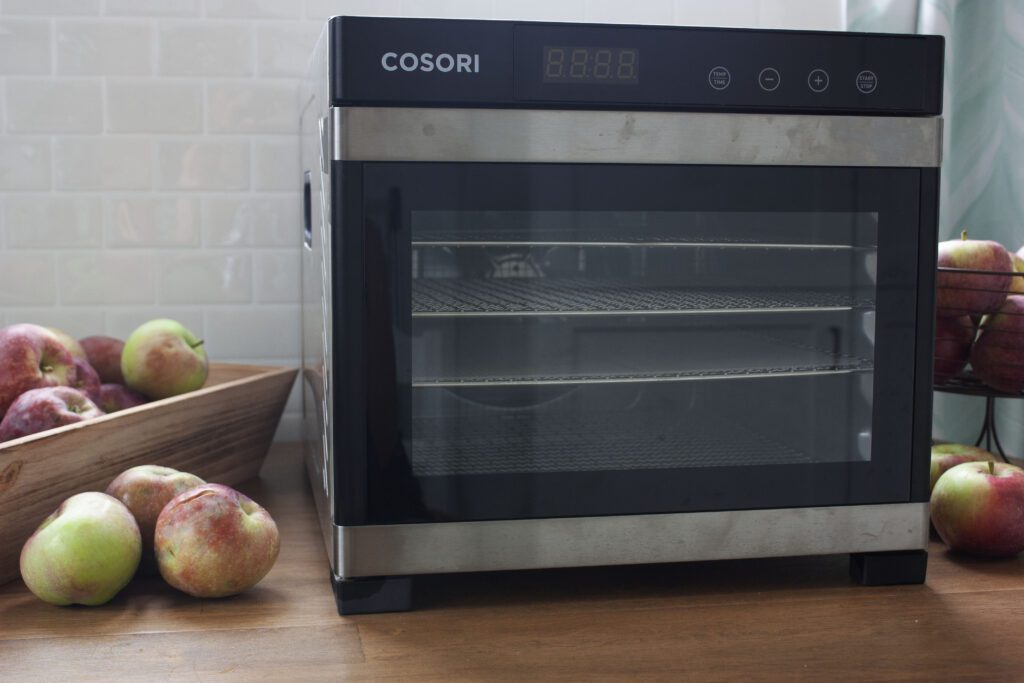
This recipe uses a dehydrator due to the temperature that the apples dry at. Most ovens won’t go down below 170°F and we will be drying the apples at 140°F. This is the dehydrator that we use. We selected this one for two reasons: first, we love that there are 6 shelves so we can dehydrate a lot of food at one time, and second, the appliance has very little plastic. We always try and think about the entire supply chain with our products, which includes what happens when we are finished with the appliance at the end of its life.
Get garden fresh recipes and advice straight to your inbox
Equipment
- Dehydrator (or an oven that can go very low)
- Fruit leather pan/baking sheet/parchment paper
- Knife & cutting board
- Peeler
- Blender
- Pizza cutter
- Toothpicks
- Storage container
Ingredients
- Apples
- Lemon juice
- Maple syrup
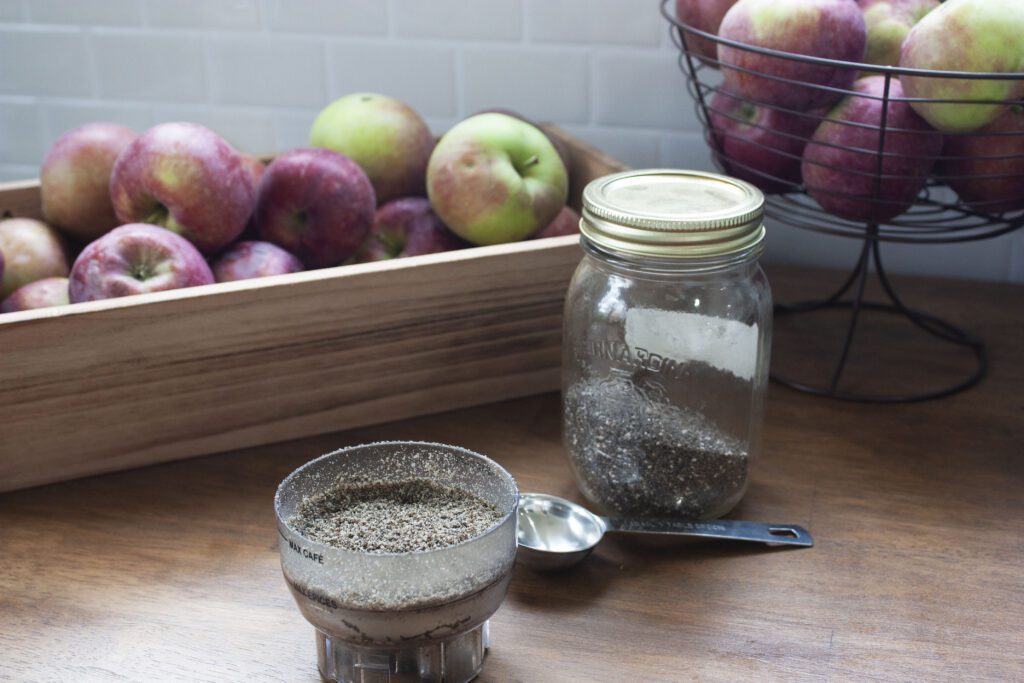
- Ground chia seeds
Steps to Make Apple Roll Ups
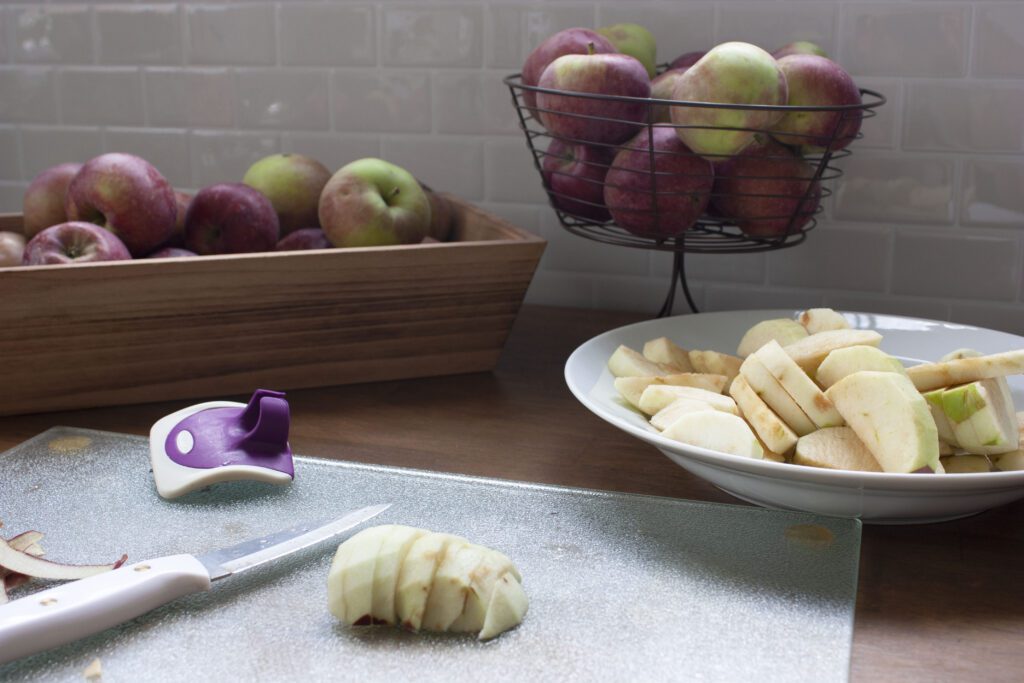
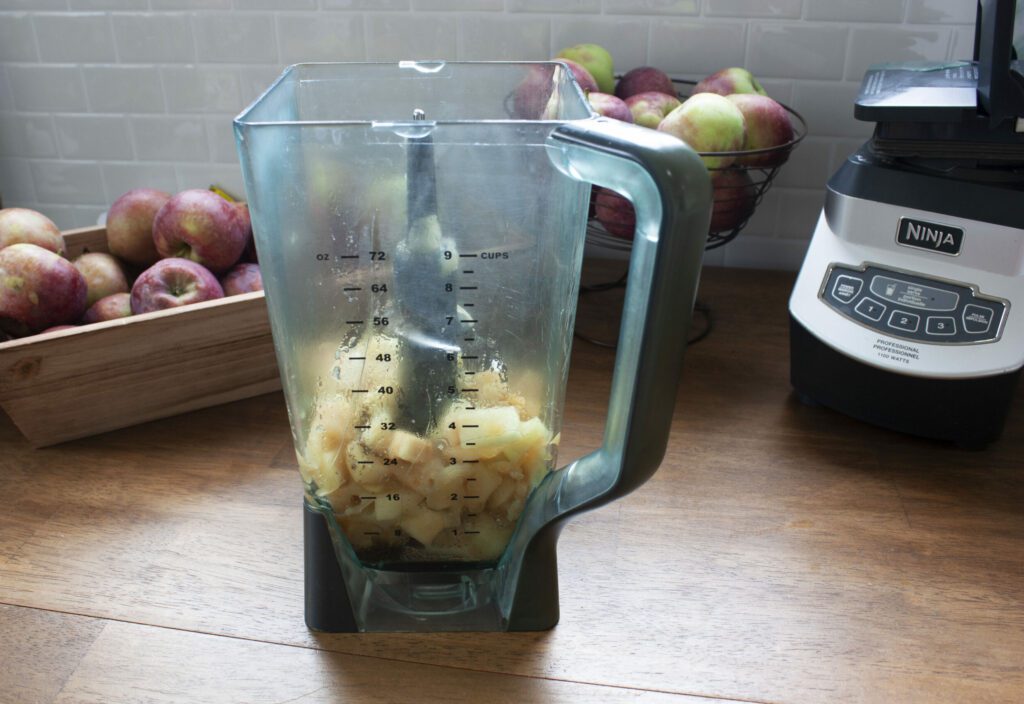
- Wash and peel the apples. Once peeled, cut them into cubes. 4 cups of apples (approx. 4 medium size apples) will fill one 12″x12″ sheet.
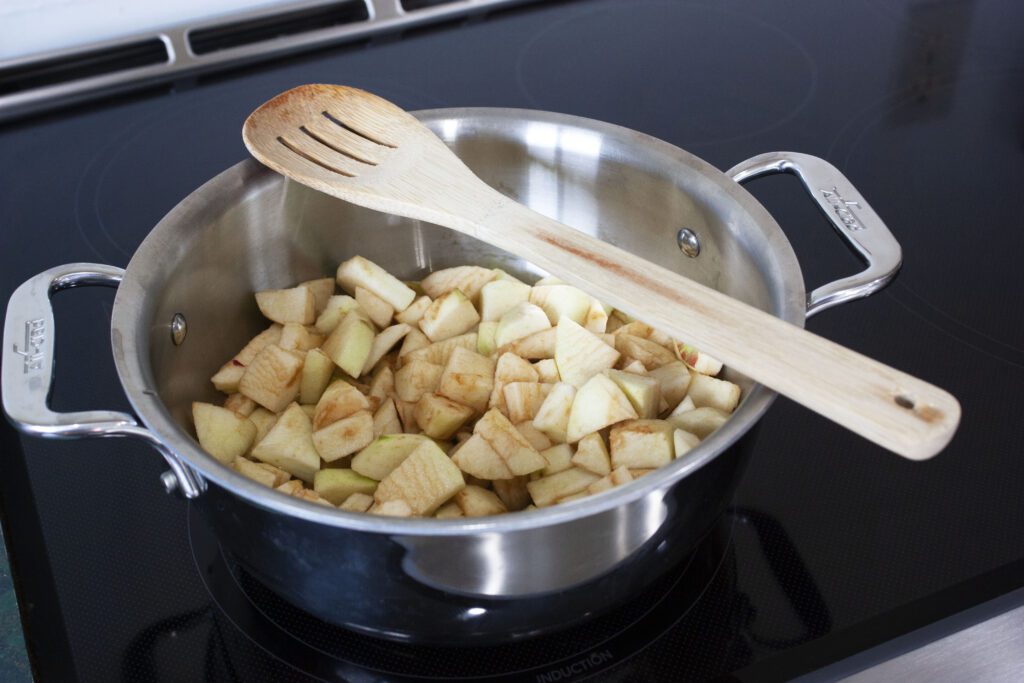
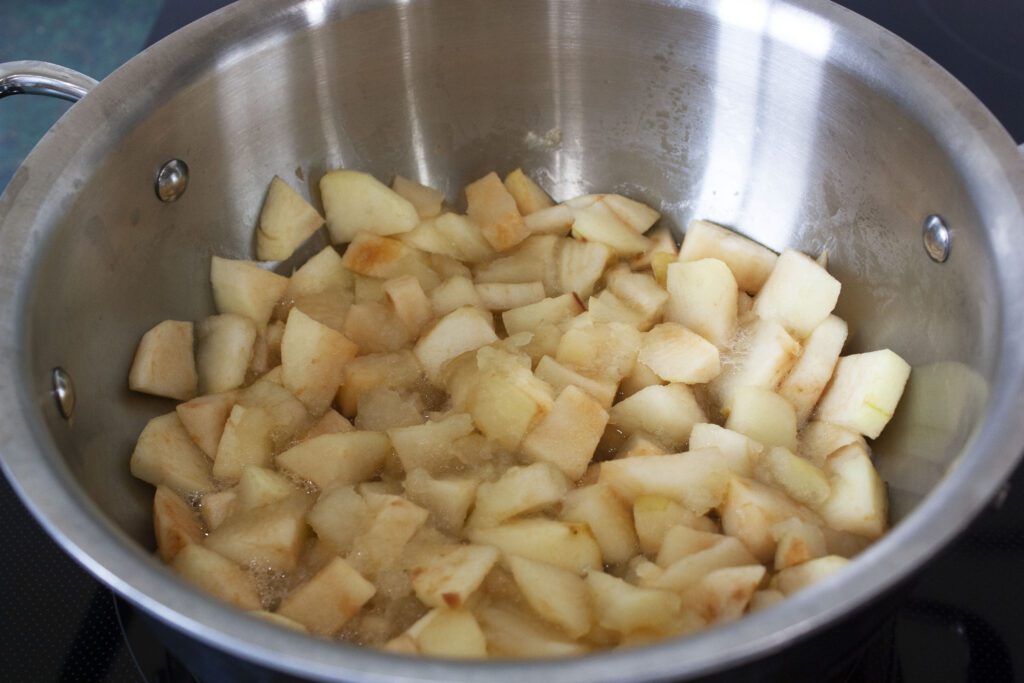
- Add the apples to a sauce pan. For every 4 cups of apple add 1/2 cup of water. It may seem like a small amount of water but as the apples start to cook they will release liquid which will help cook them (see second photo). Cover them with a lid and allow them to cook for 15 minutes, until soft. Pour out any extra liquid, if you wish, to help with dehydration time.
- In a blender, add the cooked apples, 2 tbsp of ground chia seeds, 1.5 tbsp of maple syrup, and 1/2 tbsp of lemon juice. Blend until smooth.
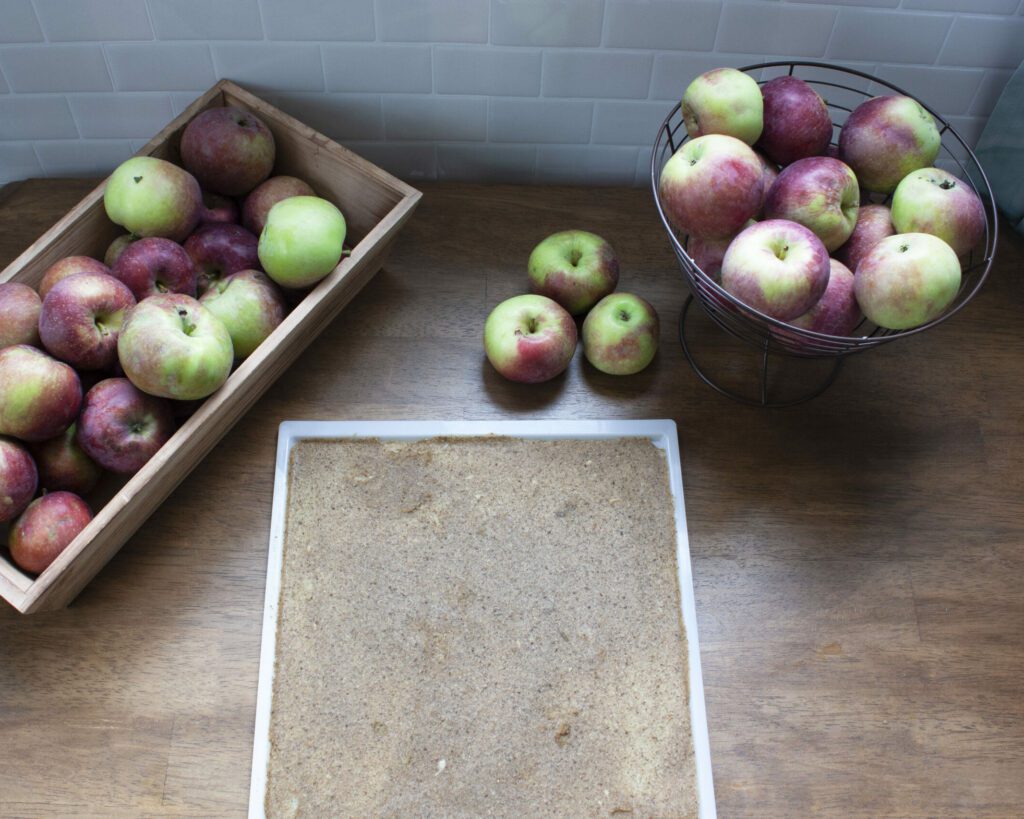
- Pour the blended mixture on to the fruit leather sheet that comes with the dehydrator. If you do not own one of these, parchment paper will work as well. Place the parchment paper on the dehydrator rack that you will be using. The mixture will be thick due to the chia seeds. Spread the mixture with a spoon until it is smooth and equal thickness.

- Place the apple sheets in to the dehydrator and dry it at 140°F for 6-8 hours. Depending on how thin you spread the apples will depend on how long it will need to cook for. The thinner parts will dry faster and any thicker areas will feel springy if they are not fully dried. Keep it in the dehydrator until all parts feel hard and don’t spring back when pressed.
- Peel the fruit off of the pan and lay it on a cutting board. Use a pizza cutter to slice it into strips. With the 12″x12″ piece we cut it into 5 strips. Next, roll the strips into rolls, however this step is optional. We like to secure them with toothpicks (you can cut off the sharp ends), but you can tie them with some string, or cut them into squares and stack them with parchment paper in between as separators.
- Store the fruit rollups in an airtight container. They will last in your pantry for around a month (unless you eat them before then!), but you can also freeze them to have them last longer (although we haven’t tried this method as they never last this long).
Get gardening advice straight to your inbox
Enjoy!
You might also like:
Apple Fruit Roll Ups

Ingredients
4 cups of apples, peeled and chopped
2 tbsp ground chia seeds
1.5 tbsp maple syrup
1/2 tbsp lemon juice
Directions
- Wash and peel the apples. Once peeled, cut them in to cubes. 4 cups of apples (approx. 4 medium size apples) will fill one 12″x12″ sheet.
- Add the apples to a sauce pan. For every 4 cups of apple add 1/2 cup of water. It may seem like a small amount of water but as the apples start to cook they will release liquid which will help cook them. Cover them with a lid and allow them to cook for 15 minutes, until soft. Pour out any extra liquid, if you wish, to help with dehydration time.
- In a blender, add the cooked apples, 2 tbsp of ground chia seeds, 1.5 tbsp of maple syrup, and 1/2 tbsp of lemon juice. Blend until smooth.
- Pour the blended mixture on to the fruit leather sheet that comes with the dehydrator. If you do not own one of these, parchment paper will work as well. Place the parchment paper on the dehydrator rack that you will be using. The mixture will be thick due to the chia seeds. Spread the mixture with a spoon until it is smooth and equal thickness.
- Place the apple sheets in to the dehydrator and dry it at 140°F for 6-8 hours. Depending on how thin you spread the apples will depend on how long it will need to cook for. The thinner parts will dry faster and any thicker areas will feel springy if they are not fully dried. Keep it in the dehydrator until all parts feel hard and don’t spring back when pressed.
- Peel the fruit off of the pan and lay it on a cutting board. Use a pizza cutter to slice it into strips. With the 12″x12″ piece we cut it into 5 strips. Next, roll the strips into rolls, however this step is optional. We like to secure them with toothpicks (you can cut off the sharp ends), but you can tie them with some string, or cut them into squares and stack them with parchment paper in between as separators.
- Store the fruit rollups in an airtight container. They will last in your pantry for around a month (unless you eat them before then!), but you can also freeze them to have them last longer.


